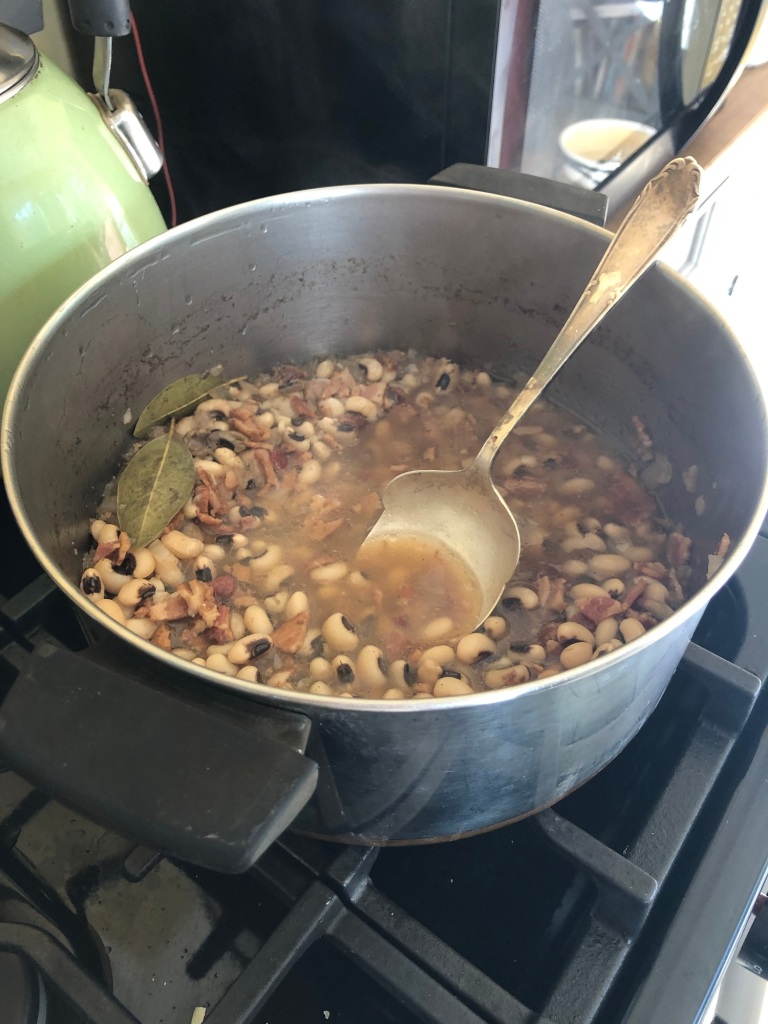
New Year’s Black Eyed Peas Soup

It is almost the holidays and my family has a few traditions for Christmas and especially New Years. Usually though we have forgotten to pick up black eyed peas until that time period after Christmas and before New Years so I’ve learned to keep the dried beans on hand year round now!

In some cultures, eating black-eyed peas on New Year’s Day is considered a tradition that brings good luck and prosperity for the coming year. This practice is particularly common in the Southern United States. The peas are thought to symbolize coins or wealth, and the tradition has been passed down through generations as a superstition associated with ensuring a prosperous start to the new year.

Black-eyed peas are a nutritious food with several health benefits. They are a good source of protein, fiber, and various vitamins and minerals. Some potential benefits include:

1. **Rich in Protein:** Black-eyed peas are a plant-based source of protein, which is essential for muscle repair and overall body function.

2. **High in Fiber:** The fiber content in black-eyed peas promotes digestive health and can help regulate blood sugar levels.

3. **Vitamins and Minerals:** They contain vitamins such as folate and vitamin A, as well as minerals like potassium and iron, contributing to overall health.

4. **Heart Health:** The fiber, potassium, and folate in black-eyed peas may support heart health by helping to manage blood pressure and reduce the risk of cardiovascular issues.

5. **Weight Management:** The combination of protein and fiber can contribute to a feeling of fullness, potentially aiding in weight management.

In addition to their nutritional value, black-eyed peas are versatile and can be used in various recipes, making them a healthy addition to a well-balanced diet.

Over the years, I’ve tried a few different versions of black eyed peas until one New Years a couple years back, I asked to take over duties and made this recipe that has now solidified me making it for my family every January 1!

This past summer, since I like the recipe so much, I thought to try out on my friends while camping. I usually make some kind of soup the last night and thought this could be the option. I am happy to report it was a hit with my friends in the wilderness just as much as my family warming up to it on a cold New Year’s Day around a bayberry candle watching the Rose Parade!

Ingredients

  • 2 cups black-eyed peas, dry (or 2 cans not dry)
  • 8 oz. Bacon chopped (or more) – I love to go to Kinder’s or Diablo Foods for this!
  • 1 cup white onion, diced
  • 2 tsp. Garlic, minced
  • 4 c. Chicken broth
  • 1 – 2 Bay leaves
  • 1/4 tsp. Red pepper flakes
  • Smoked salt – I use Cherrywood Smoked Salt from Oaktown Spice Shop – best ever!
  • Pepper
New Year’s Black-Eyed Peas

1) If using dry peas, soak 6 hours or overnight. For camping, I brought a Tupperware and soaked them in that overnight.

2) In cast iron skillet, cook bacon until crispy. Drain on paper towels and chop. Set aside

3) Add onions to cast iron with bacon and cook until translucent

4) Add garlic with onions, cook until fragrant

5) In a large pot, add peas, onions, garlic and chicken broth, bay leaf, red pepper, and smoked salt and pepper to taste

6) Bring to a boil

7) Move to indirect heat if camping over fire, or low heat if at home, and simmer 20-30 minutes

8) Garnish with bacon, more salt (if desired), and a few dashes of Tabasco (if desired)

9) Enjoy and cheers to the new year!

The Goose Hangs High!

Chile Verde Chicken & Rice

I will not lie – I am always terrified of not cooking some meats well enough and making my fellow campers sick! So I usually stick to meats that it is ok if I under cook (I.e. beef)

But a few years ago (before pandemic), I took my mom and sister to a cooking class for fun at Sur La Table (R.I.P. Walnut Creek Sur La Table). The chef that day told us about his favorite tool – the ThermaPen! Learning about this product gave me the guts to finally try out cooking raw chicken while camping. No one wants to eat it raw and it can easily be dried out by overcooking. But never fear with the ThermaPen! It can literally get the temp down to the .01!

The Marinade

  • 1 1/2 lbs of tomatillos
  • 5 garlic cloves
  • 2 jalapeños (I omitted for the trip because one camper could not handle heat. Adjust to the temp level of your fellow campers!)
  • 2 Anaheim or Poblano peppers
  • 1 bunch of cilantro, roughly chopped
  • Black Pepper
  1. Add all ingredients into a blender or food processor. Blend til smooth
  2. Pour marinade over sliced boneless skinless chicken breasts (1/4 – 1/2 lb per person) in a ziplock bag
  3. Freeze in freezer until camping trip
Chile Verde Marinade Ingredients
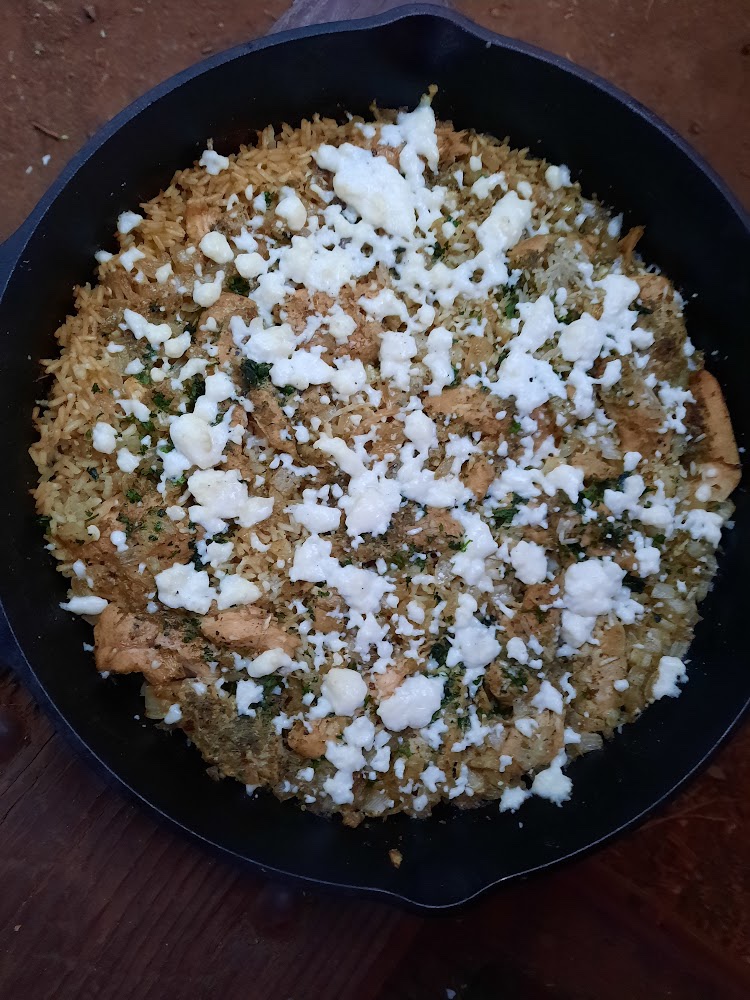
Camping Chile Verde Chicken and Rice
Grilled Chicken using Thermapen!

Chile Verde Chicken & Rice

  • 4 tbsp olive or vegetable oil
  • Bag of mix seasoning of garlic powder, paprika, oregano, cumin, salt & pepper
  • Onion, yellow or white, chopped
  • 4 cloves garlic, minced
  • 1 cup rice
  • 32 Oz chicken broth
  • 1 can corn
  • 1 can black beans, optional
  • Queso Fresca cheese
  • Avocado, optional
  1. Thaw chicken (if frozen)
  2. Add a bit of oil to cast iron pan and add sliced marinated chicken once heated
  3. Heat on one side for about 5 minutes and flip
  4. Heat another 5 minute and then use Thermapen to test see temperature. If at 165 degrees continue. If you don’t have the Thermapen, to be safe, heat chicken on both sides 8-10 minutes each
  5. Remove cooked chicken
  6. Heat cast iron again with 2 tbsp oil and add chopped onions. Stir a few minutes and then add garlic. Stir for a couple more minutes
  7. Add rice and stir for 1 minute, slightly browning
  8. Add chicken broth, cooked chicken, beans, corn, and extra verde (if have)
  9. Bring to a simmer, top with aluminum foil
  10. Cook for 30 minutes
  11. Uncover and add queso cheese. Recover with foil and cook for another 15 minutes or until rice is cooked
  12. Topped with avocado (if wanted!) and more cheese (do not deny yourself!)

Hot Cocoa Red Wine with Hallmark Movies

Anyone who knows me, knows at this time a year I am watching Hallmark channel 24/7. Now in sort of defense I actually watch it 24/7 all year round. I can also probably name almost every Hallmark hunk actor and every storyline and tell you which are my favorites by category and actress/actor. Always watch anything with Andrew Walker, Brendan Penny, Ryan Peavey, Lacey Chabert or Candice Cameron Bure. My personal choice is to always skip Alicia Witt cuz she drives me crazy and I don’t know why but my friends know I will say it. My friends know when they see all the lineup, they can text me and ask which ones should they watch or skip. So if you are wondering on this 2020 season here are my must watches –

  • Time For Us to Come Home for Christmas
  • Holly & Ivy
  • Deliver by Christmas
  • The Christmas Charm
  • Never Kiss a Man in a Christmas sweater
  • Christmas with the Darlings
  • A Timeless Christmas
  • Good Morning Christmas
  • Five Star Christmas
  • Christmas Waltz

Ok now that you have your movie watching list, I’m about to give you a delicious drink you can make alcoholic or not!

Ingredients –

  • Hot Cocoa (homemade or bought but if bought I recommend Ghiradelli)
  • Milk (or any nut or oat milk)
  • Red wine
  • Whip cream (optional)
  • Toppings such as candy canes or nuts (optional)

Directions –

  1. Heat one cup hot cocoa with one cup type of milk over medium heat and a small sauce pan. Stirring constantly.
  2. Once hot chocolate milk mixture has blended and warmed to a decent temperature, add 1 cup red wine
  3. Stir constantly until red wine hot cocoa mixture has heated well
  4. Pour into mug. Top with whip cream and any toppings you desire
  5. Enjoy! Preferably with a Hallmark movie of your choice

Arugula Salad

Salads when camping seem weird to a lot of people but they are actually really easy if you plan for it! They make for nice light lunches when you aren’t super hungry and also combat a meals calories so you can indulge more in brownies and Monkey Bread.

So my key way of working with any salads during camping are a few key things –

– Bring pre-bagged greens of your choice – PRE WASHED

– Buy produce ahead of time and cut, wash, dry and put in baggies before going

– Use anything and everything you have leftover from previous meals! Veggies, meats, dressings, sides. The key to these salads is to use leftovers when available to take less home

– Make a dressing before the trip that is versatile (lemon vinegerette, ranch). I love my lemon thyme dressing for this reason alone

So given all that, I want to share one of my favorite go to salads with favorite on hand items!

Easy Arugula Cucumber Salad

Ingredients –

  • 2 cups arugula
  • 1/2 Cucumber
  • 1/2 Avocado
  • Sliced Red Onion
  • Shaved Parmesan cheese
  • Roasted Pepitas
  • Lemon Thyme Dressing

Directions –

1) Roast pumpkin seeds before trip. Preheat over to 350 degrees. Put raw pumpkin seeds on cookie sheet. Roast for 8 minutes – mixing half way through

2) Put arugula in a bowl. Add cubed avocado, sliced red onions, sliced cucumbers, toasted pepitas and shaved Parmesan cheese

3) Dress with lemon thyme dressing and toss. Eat alone or serve as a side

Arugula Cucumber Avocado Salad

Campfire Herbed Potato Packets

California is being teased with an early spring right now. It’s either that or sadly we might be headed back to a drought. Either way, I’m going to enjoy the 70 degree sunny days with some delicious bbq!

While I might not be camping right now, bbq’ing gives me a great opportunity to try out new recipes. Potato packets have always been an easy side dish option for me when camping but I love to try out different varieties.

I’m doing a community garden with some friends and right now we have some delicious parsley, green onions, rosemary and thyme! As for type of potatoes, I’ve done russet and red potatoes but I think I prefer the small red ones for this. I always start pit with a butter and garlic base and then add from that. Also my friends know how much I love garlic that if I see a recipe for 2 cloves, I immediately change it to 6. For this recipe I will keep it at a normal amount but if you love garlic at me, definitely double or even triple the amount.

Ingredients:

  • 4-5 small red potatoes
  • 2-3 tbsp. butter
  • 2-3 garlic cloves
  • Thyme
  • Rosemary
  • Oregano
  • Salt
  • Pepper (optional)
  • Green onions (optional)
  • Aluminum foil

*One note – when I am camping, I will just use Italian Seasoning or Herbes de Provence instead of fresh

Directions:

  1. Rip a piece of aluminum foil that is big enough to hold potatoes and close into a packet loosely
  2. Cut red potatoes into 1/2 inch cubes (cut in half or quarters depending on size)
  3. Cut butter into 1 tbsp pieces and then quarter into quarters
  4. Align potatoes into the center of the foil and place the small cubes of butter evenly on top of potatoes
  5. Mince garlic and add also to the tops of the potatoes
  6. Chop herbs and green onions and place on top of potatoes
  7. Sprinkle with salt and pepper
  8. Wrap foil into packets with a loose opening on top
  9. Place on campfire or grill and heat for about 45 minutes
  10. Remove, open and either place on a plate or even eat out of the packet!

S’mores Cones

This is one of my favorite desserts for camping that is super easy to make. All you need to do is take anything you might want to stuff in the cone and wrap in foil and place on the campfire grill for about 15 minutes until inside is melted and cone is warmed.

Gooey Delicious S’mores

Ingredients:

  • Waffle Cones
  • Mini marshmallows
  • Mini chocolate chips
  • Aluminum foil
  • Peanut butter, butterscotch chips, banana – whatever additions your heart desires that fit in the cone

Directions:

  • Rip off a sheet of aluminum foil
  • Stuff the waffle cone full with your desired ingredients
  • Wrap waffle cone in the aluminum foil and put on a campfire grill in indirect heat
  • Heat for about 15 minutes or until inside ingredients are melted and cone is warmed (might require a couple of checks)
  • Once ready – eat and enjoy!

Super Easy Game Day (or Camping) Pasta Salad

So one of my easy go to side dishes for any event and definitely easy to throw together for an addition to any meal while camping.

I’ve recently joined a community garden with some girlfriends and right now our parsley is growing like crazy and is so fresh so I added it.

Also if you are not making this while camping and instead at home, I highly recommend this pan from Ayesha Curry. The lock lid is a lifesaver!!

Ingredients:

  • 1 box of pasta like rotini
  • 1/2 to one bottle of Italian dressing
  • Grape tomatoes
  • 3-5 celery stalks
  • 1 can of black olives
  • Italian seasoning
  • Celery salt
  • Salt and pepper
  • Parsley (optional)
  • Cucumbers (optional)

Directions:

  1. Cook pasta according to package
  2. While pasta is cooking, chop celery and cut tomatoes into quarters
  3. Drain pasta
  4. Allow pasta to cool. Tip for camping – add to a large ziplock bag and add to cooler for quicker cooling
  5. Add pasta to a large bowl
  6. Add the tomatoes, celery, black olives and cucumber (if using)
  7. Add about 1/3 Italian dressing and a few shakes of all seasonings. Mix well and continue to add more – testing periodically until you have the amount of dressing and seasoning that you like
  8. Top with chopped parsley

Campfire Jalapeño Cheddar Cornbread

Sorry for the hiatus! The last week of August was spent getting everything together for my largest camping trip to date. I then went traveling for a month! For this last camping trip, I bought extra cast irons for the campfire and definitely had to use my new Coleman grill for additional items for the amount of people we had. Before the trip I really wanted to get this griddle but it was out of stock until yesterday. Thankfully there was a big cash back event yesterday and it is back in stock so I grabbed it for next year shenanigans!

So in the meantime for this past camping trip, I had to rely on my trusty cast irons! If you are in the market, Macy’s has one on Last Act for under $20 so I would grab one now before they are gone (I know I am getting one for backup!)

A lot of camping trips I like to make chili the last night. What goes best with chili but cornbread! I like to spice up my cornbread with jalapeños but if you want plain omit those and the cheese. Also feel free to add any of your favorites!

Ingredients

  • 2 eggs
  • 2/3 c. Buttermilk (or milk)
  • Chopped jalapenos
  • Cheddar cheese
  • 2 tbls honey (optional)

Directions

  1. Mix corn mix, eggs and milk in a bowl and stir until well blended
  2. Add honey (if desired), chopped jalapeños, and shredded cheddar or mexican cheese
  3. Stir again until combined
  4. Add 2 – 4 tbls butter in a cast iron pan over campfire
  5. Swirl butter around in pan until melted
  6. Add cornbread to middle of pan and spread evenly around the pan with a spatula
  7. Cover pan with foil
  8. Cook medium-low heat away from direct flame for about 15 minutes or until sides start to tan
  9. Let pan rest covered for about 5 minutes
  10. Cut into slices and serve!

* Note: if you want to have easy cleanup, add foil to the bottom of the pan and skip the melted butter step. Just pour directly into foil lined pan. I usually like easiest cleanup on the last night!

Campfire Southwestern Chicken Rice

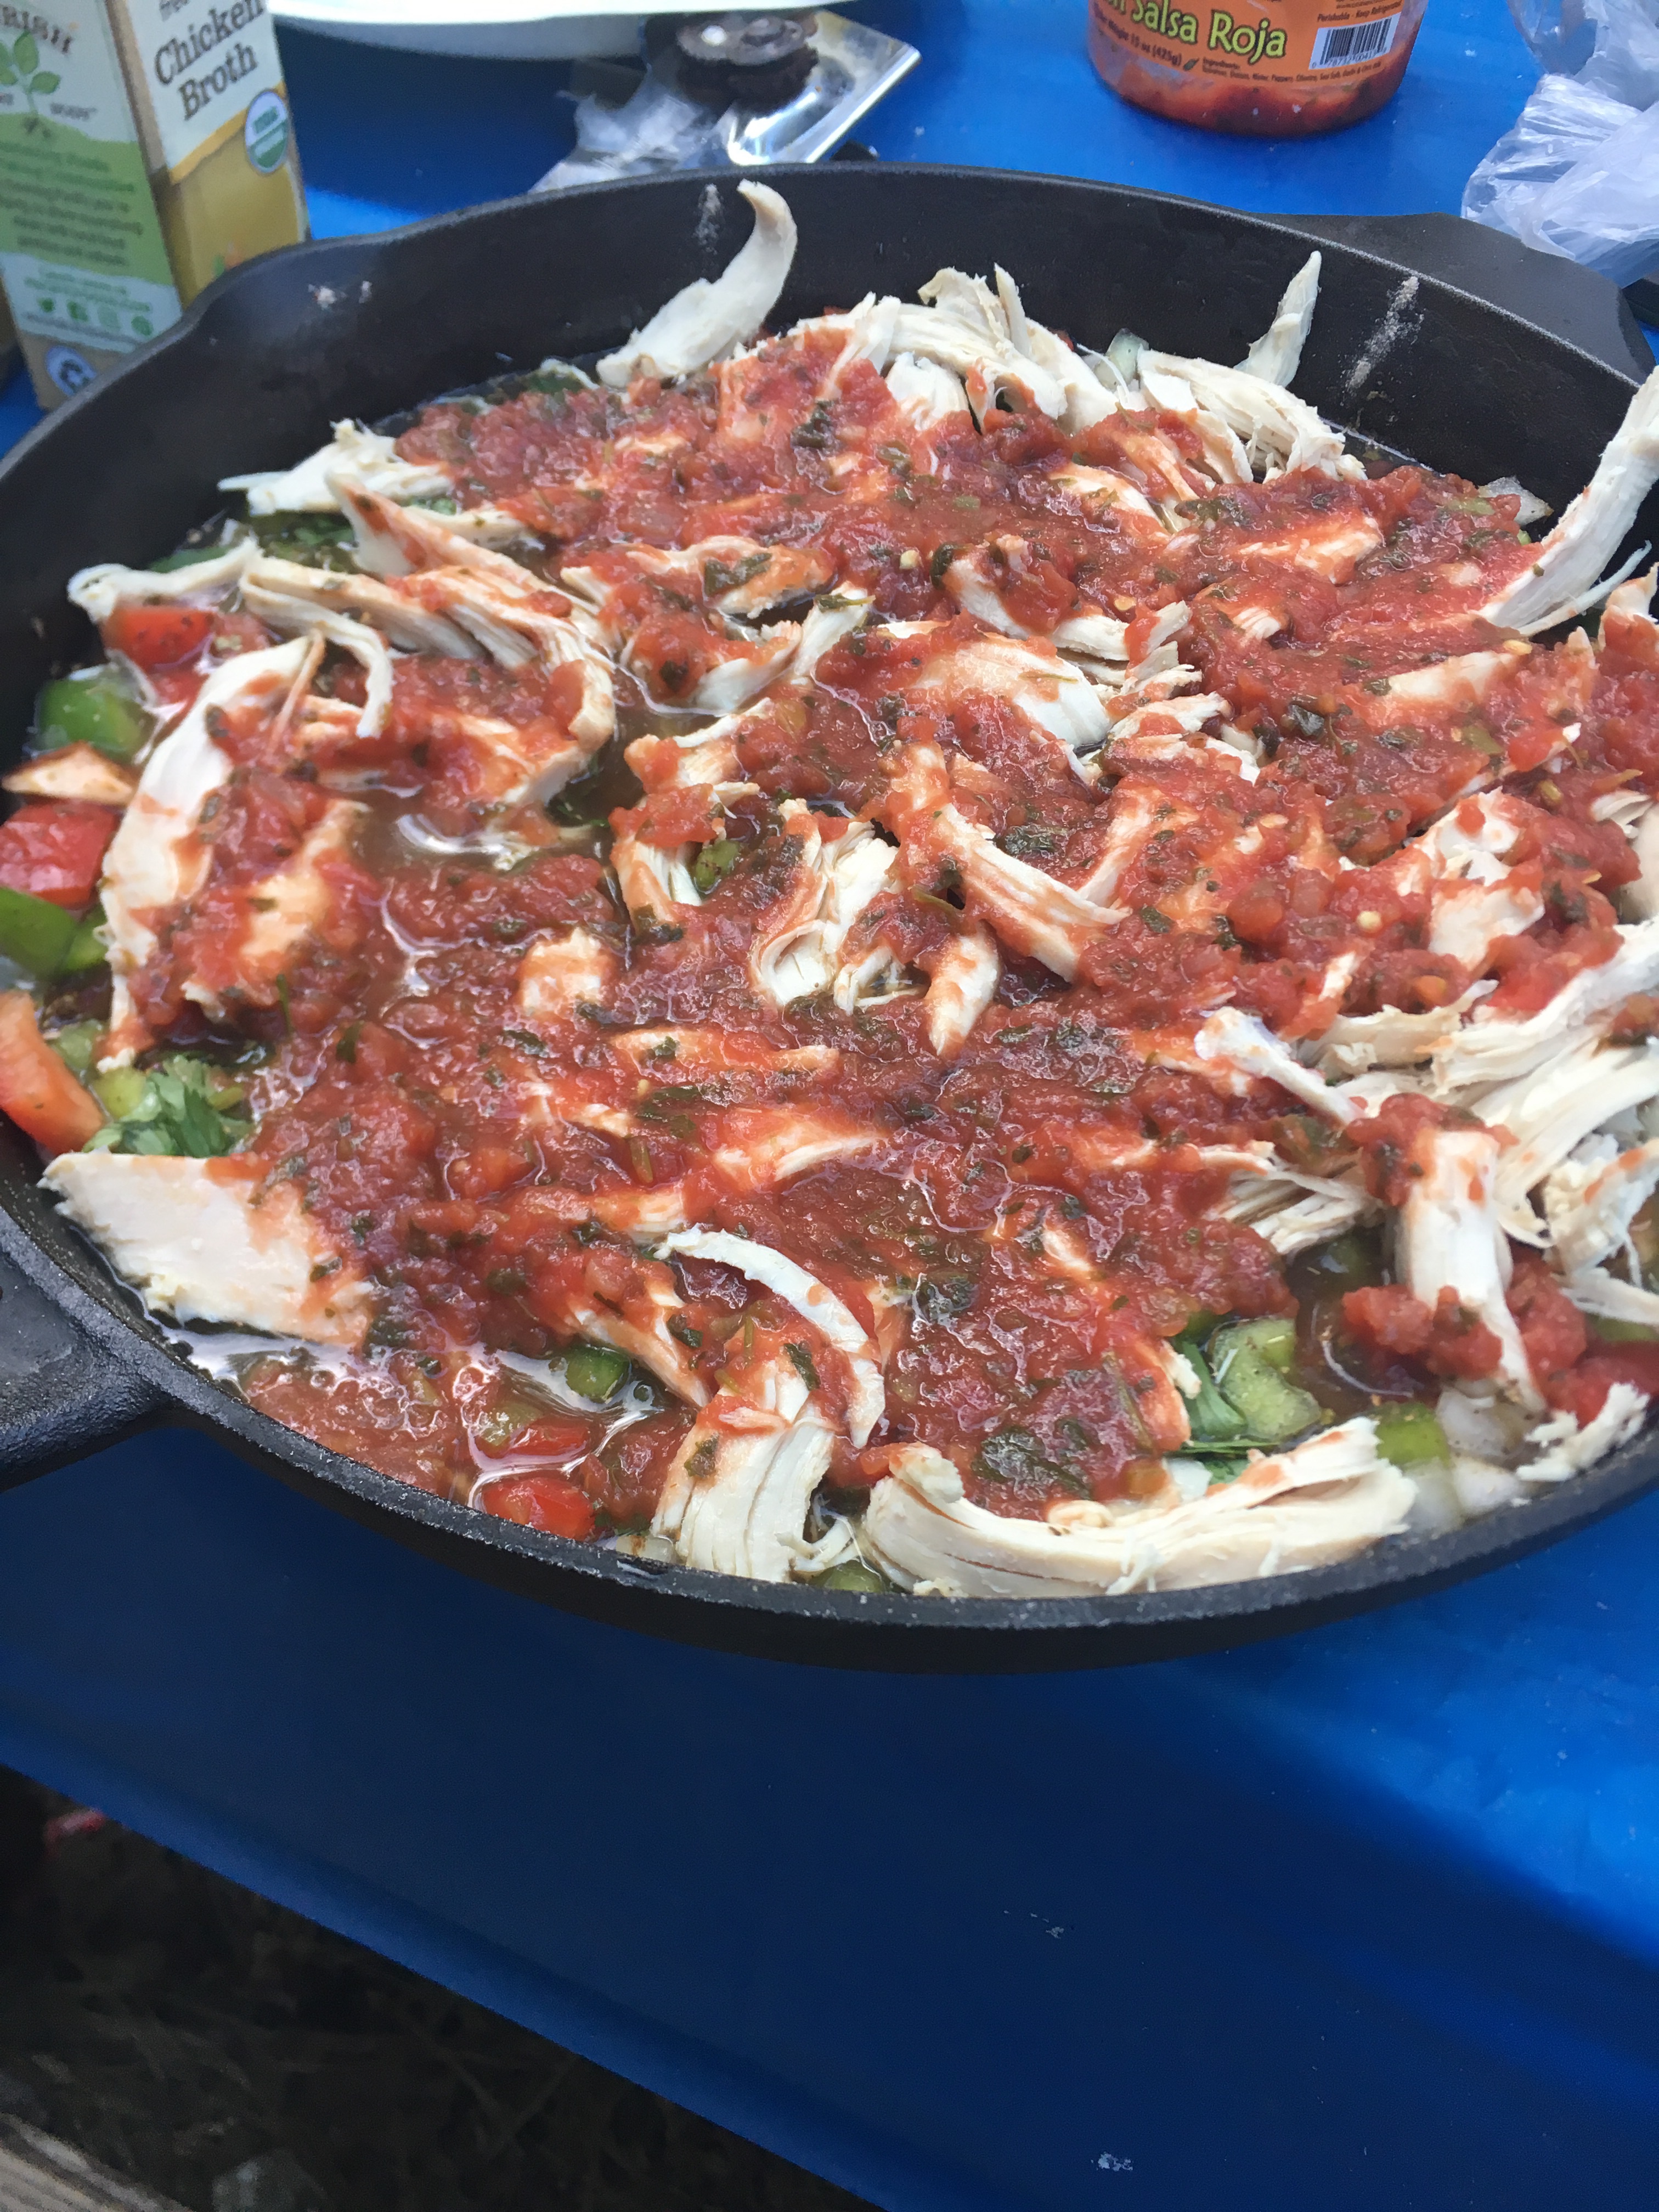
I always love making Mexican dishes while camping because I always have the ingredients on hand and it’s always a crowd pleaser. On a camping trip this summer, I decided to branch out a little and try to make rice. I was nervous how this would do in my cast iron pan but then I saw these mini chicken broth containers at the store and knew I needed to try. They are small so they don’t take up much space which is great when camping but also you don’t have to feel like you are wasting a lot with a big container or not using a whole can. For the broth I used almost two small ones but I would definitely just gauge with the dry ingredients (veggies, chicken, rice) vs. liquid ratio. Also, for this recipe I used chicken that I cooked at home before the trip. Before any camping trip, I roast a small chicken in my oven for about 2 1/2 hours and then let it cool. Once cooled, I shredded the chicken and store in a ziploc bag. Once at the campsite, you have cooked chicken you can add to a lot of your meals if you would like.

Ingredients-

  • 1 cup rice
  • 1 cup salsa
  • 2 cups chicken (pre-cooked) – I roast a chicken before the trip and shred pieces into a ziplock so you can add to anything
  • 1 can black beans (or pinto)
  • Red bell pepper
  • Green bell pepper
  • 1/2 yellow onion
  • Fajita spice mix
  • 1 3/4 cup chicken broth
  • Mexican shredded cheese
  • Cilantro (optional)

Directions –

  1. Chop bell peppers and onion
  2. Add all ingredients to a cast iron pan
  3. Cover with foil
  4. Heat to a boil (check periodically by lifting a small corner of the foil)
  5. Once boiling, let simmer for 15 minutes
  6. Remove cover and add cheese and then re-cover
  7. Heat another 5 minutes until cheese is melted
  8. Remove and fluff
  9. Top with cilantro if desired or have extra at campsite to use

Arugula & Fennel Salad

I find salads easy to do for camping since almost everything can be prepped before the trip, stored and then just thrown together at the campsite. Also they go great with almost anything. I like to serve this one with my campfire lasagna and garlic bread recipes

Ingredients

  • 6 cups arugula (store in ziploc bags prior to trip)
  • 1 bulb fennel, thinly sliced (store in ziploc bags prior to trip)
  • 1 to 1 1/2 cup pomegranate seeds
  • 1/2 cup – 3/4 cup shaved Parmesan cheese
  • 1/3 cup olive oil
  • 1 lemon
  • 1/2 cup pepitas
  • 1 lime
  • Salt
  • Pepper
  • Cayenne

Directions

Note: I do the first four steps before camping trip and store in a small mason jars

  1. In a small bowl, combine juice of half of lime, pepitas and dash of cayenne. Stir until combined
  2. Heat oil in a small sauce pan over medium heat. Add limed pepitas and toss frequently until lighter color and toasted
  3. Coat with juice from other half of the lime and stir to combine. Remove from heat and let cool. Store in a small mason jar if making prior to trip
  1. Make dressing by combining olive oil, juice from a lemon and salt and pepper (to taste). Store in a small mason jar prior to trip
  2. Combine in a large bowl, arugula, fennel, pomegranate seeds and shaved Parmesan.
  3. Drizzle with dressing and toss until coated
  4. Top with limed pepitas and serve!